January 2, 2024
How to Stage Your Living Room
For most homes, the living room is the first room people see when they walk through the door.
So, a clutter-free, beautifully decorated living room is key to creating a positive first impression, especially when putting your home on the market.
That’s why nearly 40% of home buyers view the living room as the most important area for staging. The primary bedroom comes second (36%), and the kitchen third (30%).
In this article, we go in-depth about how to stage a living room to make your home appeal to potential buyers and sell faster, often for a higher price.
Why You Should Stage Your Living Room
Your living space is the place in your home that serves as your place to unwind after a long day. It’s also where you experience moments of joy, spend time with family, and make wonderful memories.
So, it’s no surprise that’s the same way buyers think when searching for their dream home.
When walking through a house, prospective buyers prefer a clean, minimal design that allows them to envision themselves in the space.
However, you don’t want your living room to be empty. Why? 81% of buyers’ agents believe home staging makes it easier for prospective buyers to visualize the property as a future home.
You can showcase your living room’s space, function, and potential by staging it with intentional furniture, decor, lighting, and other design elements.
7 Things to Focus on When Navigating How to Stage a Living Room
Follow these best practices to stage your living room and present your home in the best possible light.
1. Deep Cleaning
There’s cleaning. And then there’s deep cleaning, which can boost home value by $3,700 on average.
Your living room may already be pretty clean. There are no toys on the floor, and the coffee table is free of clutter. You’ve probably vacuumed or mopped the floors. You’ve wiped down surfaces, dusted, and done some basic tidying.
But have you deep-cleaned? Deep cleaning requires paying attention to the smaller details, such as:
Baseboards, Molding, and Light Fixtures
Since your light fixtures hang above eye level, they’re easy to miss and likely have accumulated dust during occupancy. Use a handheld vacuum or long broom to clear out light fixtures. For heavy layers of dust or grime, remove glass shades and clean them gently with warm soap and water.
Baseboards and molding may also need a good scrub-down. Smudges and marks are eyesores to buyers. Dust baseboards and moldings. If there is still residual dirt, use a damp microfiber cloth or magic sponge eraser to wipe everything down.
Carpet
If you have carpet in your living room, it may need steam cleaning to remove allergens, germs, and built-up dirt and dust.
A traditional vacuum is a good start, but a carpet cleaner can bring even well-worn carpets back to life.
Windows
Sometimes, windows can accumulate grimy film. To get clean, streak-free windows, use a damp microfiber cloth. This extra step will help remove any spots like fingerprints and smudges.
But if your windows need more of a deep clean, grab some dish soap and wet an old towel to remove built-up scum and grime. Be sure to get your exterior windows, too.
Don’t forget to freshen your furniture, curtains, and rugs with a fabric refresher. Why? Because there’s nothing like walking into a clean, fresh-smelling home.
Consider these additional deep cleaning tips for a spic-and-span living room:
-
Check behind and under your furniture for dirt, dust, or clutter.
-
Clean and sanitize electronics and accessories.
-
Polish and clean metal fixtures and hardware.
-
Polish furniture and wooden surfaces.
-
Check and clean air vents and filters.
-
Wash or replace throw pillow covers.
-
Shampoo or steam clean upholstery.
-
Clean or wash curtains or blinds.
-
Clean and polish glass surfaces.
Even though the results are well worth it, deep cleaning can be time-consuming. If you’re not up to the task, consider hiring a professional cleaning company. They can clean your entire home to help you get things ready for staging.
2. Neutral Color Scheme
Neutral colors are best for home staging because really vibrant colors don’t appeal to every potential buyer.
On the other hand, neutral colors are more likely to appeal to a wider range of buyers. Plus, mixing and matching furniture pieces, decor, and other design elements is easy when colors and tones are more muted and subtle.
Go for soothing and calm tones like off-white, light gray, and beige to create a welcoming and spacious atmosphere. This will help potential buyers visualize themselves living in the space.
Looking for some neutral color inspiration? Hear from Jackie Jordan, director of color marketing at Sherwin-Williams, about bringing out the best in your home with neutral paint colors.
Replacing a darker paint color in your living room and repainting it with a more natural shade will brighten and open up the space. Before you start the painting process, here’s what to know:
-
Go to a hardware store and look at different neutral colors like white, beige, gray, or beige.
-
Before committing to a color, test paint samples. Do this under natural daylight and artificial lighting.
-
Choose quality paint. Look for matte and satin finishes, which complement neutral colors quite well.
-
After deciding on the right paint color, prepare your living room by removing furniture, covering floors with plastic, and using painter’s tape to mask off areas you don’t want to paint (e.g., baseboards, trims, edges)
-
Prime the walls using a quality primer to promote better adhesion, cover existing colors or imperfections, and achieve a more uniform finish.
-
Start painting. Use consistent brush strokes. Since they’re lighter in shade, any inconsistencies will be more noticeable. A roller can help you maintain an even application.
-
Follow the recommended drying time between coats.
Sound like a lot? You can hire professionals to paint while you focus on other aspects of staging your living room.
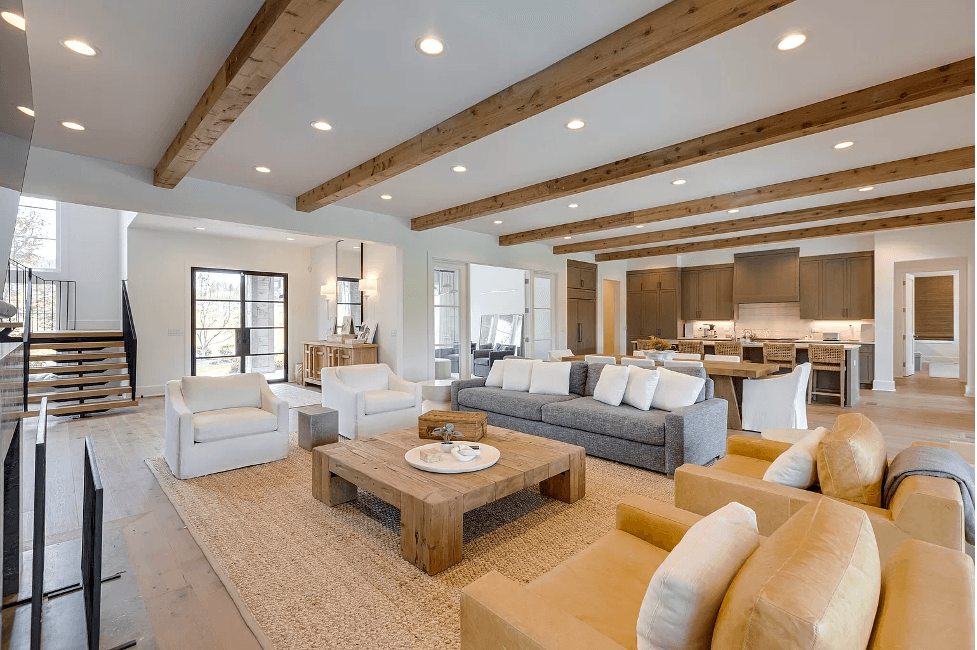
3. Living Room Furniture
When learning how to stage a living room, you have the choice to keep your existing furniture or purchase new pieces.
But the key is to arrange your furniture in an intentional way that doesn’t make the area feel cluttered but, at the same time, fills the space.
So, try to use as little furniture as possible. The essential pieces you need are a sofa and a coffee table. Sure, you can add other furniture. But avoid overcrowding the area.
Using older furniture? Use slipcovers to cover any imperfections and create a more refined look.
Also, consider mixing and matching furniture to create a more timeless, curated design.
Consider these tips for arranging your living room furniture:
-
Ensure clear pathways through the room. Leave space for easy movement without obstacles.
-
Arrange furniture around a focal point, such as a fireplace or statement art piece.
-
Avoid blocking natural light sources.
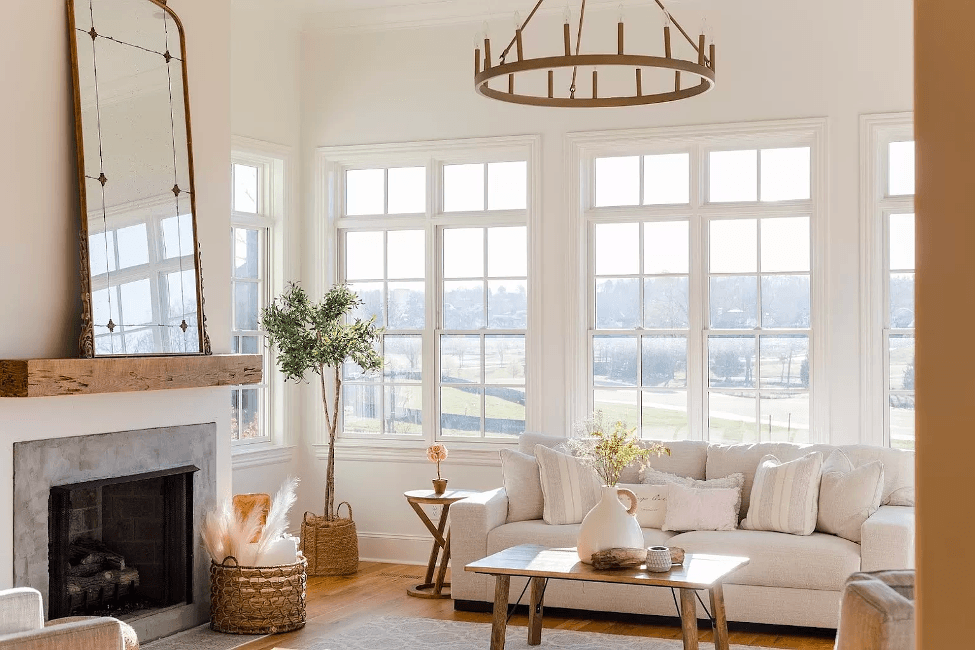
4. Natural Lighting and Fixtures
Incorporating natural light can make a space feel more open and spacious. So, place furniture in a way that allows natural light to reach all corners of the room.
Place mirrors strategically (i.e., across windows or near light sources) to reflect natural light. This layout helps brighten the room and gives the illusion of additional space.
You can also follow these tips to take advantage of natural and artificial light sources:
-
Use incandescent bulbs and daylight bulbs to enhance natural light and create a warm, inviting atmosphere.
-
Incorporate task lighting into functional areas such as reading nooks.
-
Layer lighting to lighting to create depth and dimension in the space.
-
Implement chandeliers, pendant lights, wall sconces, and table lamps.
-
Install ambient lighting fixtures to provide a soft, natural glow.
-
Choose light-filtering window treatments.
-
Choose bulbs with warmer colors.
-
Use statement light fixtures.
-
Keep windows clean.

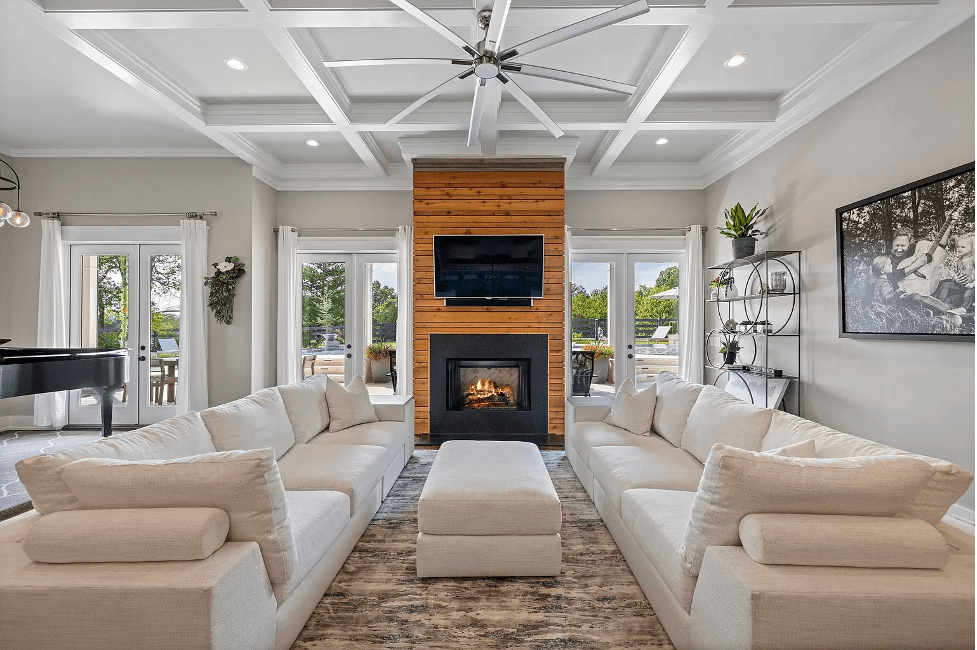
5. Focal Points
Focal points are key areas you want to highlight in your living room. These elements often include:
-
Statement lighting features
-
Artwork or gallery walls
-
Grand pianos
-
Large mirrors
-
Bay windows
-
Fireplaces
-
Rugs
It’s important to rearrange your furniture so that you don’t take the spotlight away from these beautiful features.
So, identify the best feature in your living room and arrange your furniture around it to catch potential buyers’ attention.

Here’s how to replicate on your own:
-
Frame and enhance focal points with symmetrical decor elements, such as matching side tables or identical accent chairs.
-
Use tall bookshelves or wall sconces to draw the eye upward and enhance the focal point.
-
Use decor pieces like vases or sculptures to draw attention to specific areas.
-
Arrange furniture to create a natural pathway leading to the focal point.
-
Have your sofa facing your fireplace (if you have one), and center it.
6. Window Treatments
Bare windows are excellent for letting in natural light.
However, adding curtains to your home can instantly take the visual appeal of a room up another level. Why? It adds texture, depth, and warmth to the room's design.
Curtains aren’t the only window treatments to achieve a perfectly staged living room. Some other options include:
-
Drapes: Luxurious appearance, insulating, sound absorption
-
Valances: Decorative touch, complement window
-
Shades: Light filtering options, energy efficiency
-
Blinds: Adjustable light control, ensure privacy
-
Shutters: Durable, customizable

7. Pops of Color, Nature, and Accessories
While neutrals are best, a few pops of color can bring out your living room’s overall design.
You can incorporate pops of color with:
-
Throw blankets
-
Throw pillows
-
Vibrant vases
-
Lampshades
-
Green plants
-
Accent rugs
-
Cushions
-
Candles
-
Artwork
Try Virtual Staging AI as an Alternative
Staging the main room in your home is nothing short of tedious. Thankfully, virtual staging is an affordable and convenient alternative to traditional staging.
You don’t even need an empty room with the power of Virtual Staging AI.
With our new declutter tool, you can upload an image of your living room “as is.” Then, in just a few seconds, you can remove your existing furniture, replace it with digitally rendered furniture, and produce images of a beautifully staged living room.
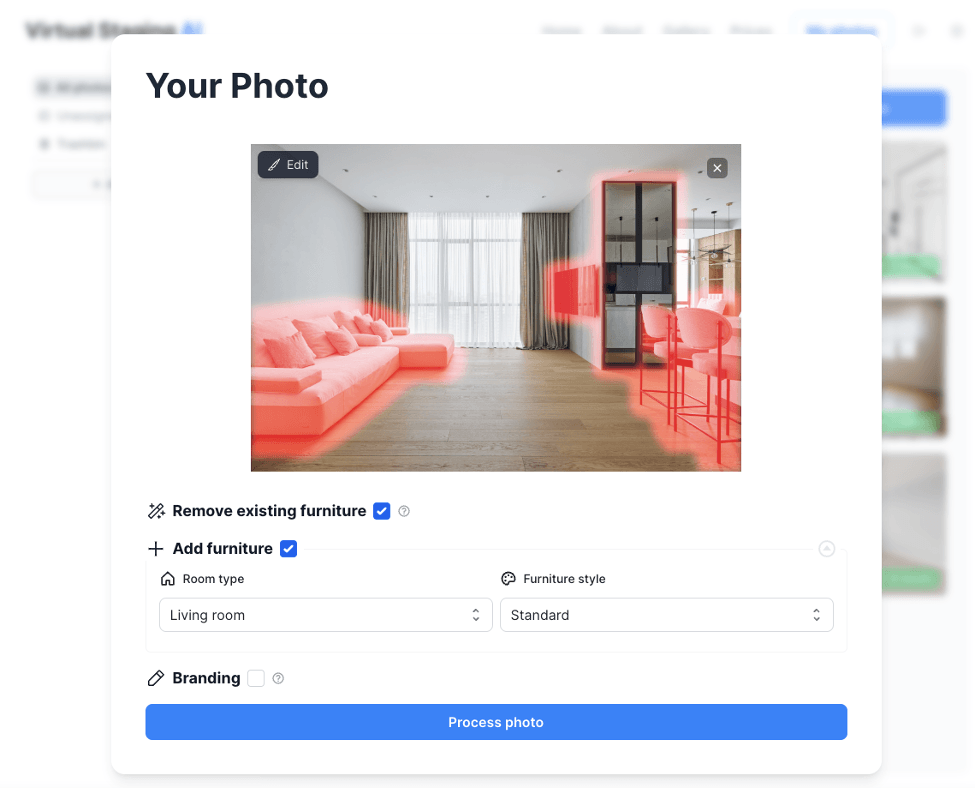
Virtual Staging AI achieves the same look you get with professional staging without the trouble or cost. You can choose from various furniture styles to align with your preferred look.
And the best part? You can achieve results in less than a minute. So, you can add a faster turnaround time to the list of benefits, too.
Virtual rendering by Virtual Staging AI
Prices start at $12 per month for a basic plan. Our standard plan is $19 per month, while our professional and enterprise plans cost $39 and $69 monthly.
On average, traditional staging costs $1,776, while the cost of hiring professional cleaners ranges between $200 to $400 for a 2,000-square-foot home with three bedrooms and two bathrooms.
So, if you’re not ready to tackle the above checklist and are looking to save some money, virtual staging with AI is a standout option.
Stage Your Living Room Like a Professional Designer
The key to successfully staging your living room is making the space warm and inviting so that potential buyers feel comfortable upon entering your home.
But most importantly, they should be able to imagine themselves living in space easily. They should see the full potential of your home to help them make a more informed purchase decision.
Just making small improvements like cleaning, removing clutter, or rearranging furniture can maximize offers and minimize the time your home spends on the market.
Looking for the most affordable and convenient solution for staging your living room? Virtual staging is the answer.
Try Virtual Staging AI for free today.